Here is a step by step look at how we make pottery. These are the steps we use every day in our studio. The process of making pottery at our studio is basically the same as you will find at any other true pottery studio in the world today. From raw clay to finished product we follow the steps that have been established over the centuries by potters on every continent. Every piece of pottery we make is hand crafted. We do not use the shortcut methods of press moulding, buying bisque ware from outside suppliers, or using mechanical devices to make the pots. Cindy does all the wheel throwing on an electric potter's wheel and all the slab pottery is built by hand. The only moulding we do is some slump moulding of platters, and even then each is made from a slab rolled on the slab roller and cut by hand before being draped into a mould.
Our clay is purchased from the Plainsman Clay Company which is located in Medicine Hat, Alberta. Plainsman processes clays from Alberta, British Columbia, and Saskatchewan, as well as Montana to provide raw materials for potters all over Western Canada.
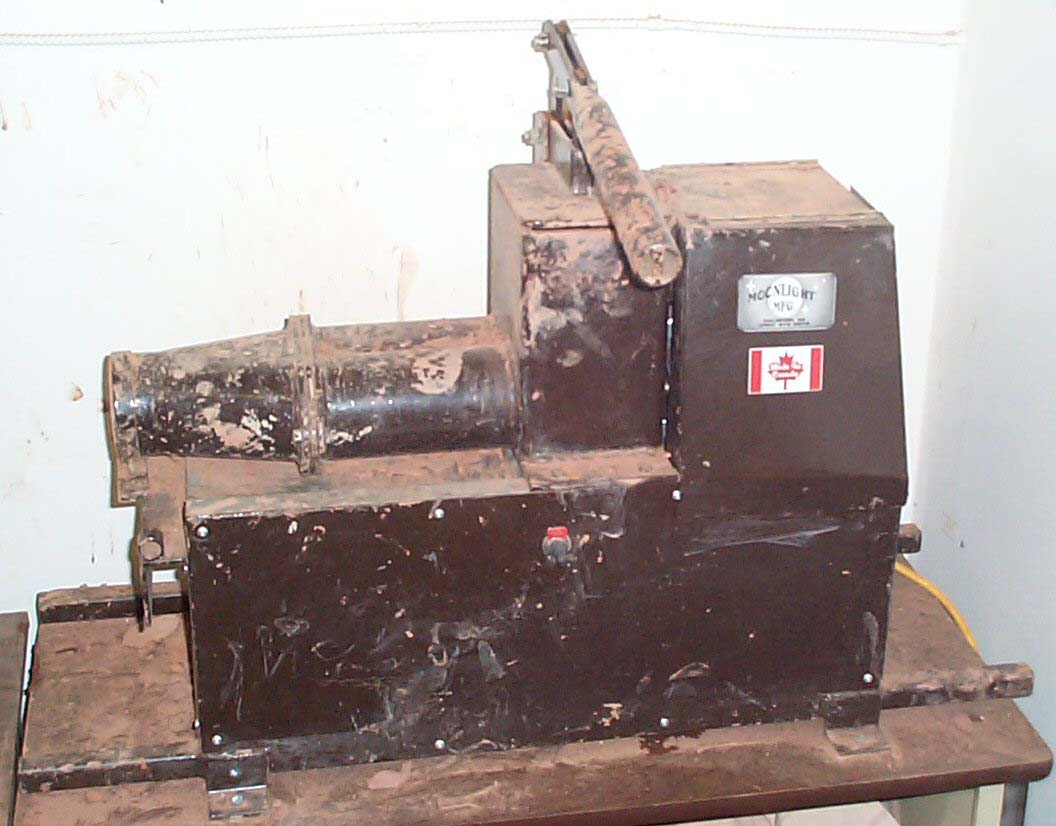
We work with different clay bodies depending on what we are building and to obtain a bisqued product with which our glazes will fit well. For wheel thrown pottery the red and brown clays are first "pugged" in a pug mill to thoroughly blend them. White clay is simply wedged straight from the box. Our pug mill was made for us by a local machinist and inventor, Guy Ells aka "Moonlight Manufacturing". This machine is made with two counter-rotating screw augers which take the clay we feed into the hopper and mix it thoroughly, then push it through a single 3" outlet pipe, accomplishing basically the same action as hand wedging. A good pug mill such as this forces almost all the air out of the clay. (Some more elaborate pug mills have vacuum pumps to try and remove every last bit of air.)
 (Click for a larger image)
Cindy demonstrates the use of the pugmill.
The clay is then briefly "wedged" by hand to establish a consistency in the raw materials and align the clay particles and remove any air left over from the pugging process. There are two types of wedging we use. Cindy favours the Japanese style of wedging she is using in this illustration. It enables her to wedge a large amount of clay at once but does require some practice to perfect the technique. A simpler type of wedging, forward or "Cow-head wedging", is often used by beginning potters as it is easy to do with a minimum of practice.
For slab building pottery we use the clay directly from the pug mill. The pugged clay is flattened by throwing it at an angle on a canvas covered table. It is then placed on a piece of canvas, a second piece of canvas is placed on top of it, and then the canvas and clay "sandwich" is run between the rollers of the slab roller to give a uniform thickness to the clay. (The slab roller is similar in action to the wringers on an old washing machine.)

(Click for a larger image)
The slab is then carried to a table where pieces are cut from it to be hand formed into pottery platters or sushi sets, for example. Once the cut pieces have set for awhile they are easier to form. Sometimes they may be dropped onto or into a form to give them a particular shape. This is called slump moulding.Once the piece has dried to "leather hardness" it is trimmed and sponged and is then ready to completely dry in preparation for the bisque firing.
Follow the video blog as Cindy details life in the studio and in a small border town.
Next Page - Centering and Opening explained.